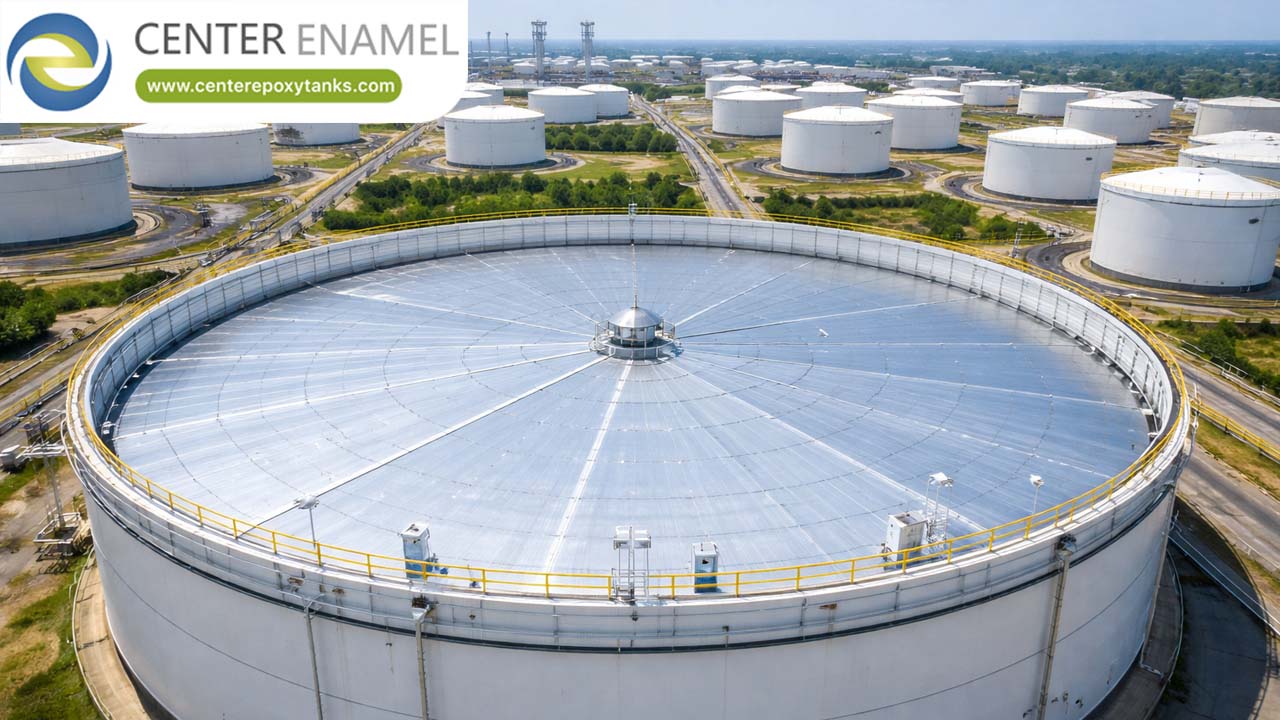
Aluminum Dome Roof Installation: A Step-by-Step Engineering Guide
The installation of an aluminum dome roof follows a modular, bolt-together assembly process designed for structural precision and minimal site disruption. The process generally consists of four primary phases: (1) Preparation and Base Ring Alignment, ensuring the interface between the tank and dome is level; (2) Framework Assembly, where geodesic beams and hubs are connected to form the structural lattice; (3) Panel Installation, where aluminum cladding is fastened to the framework; and (4) Final Sealing, involving the application of high-performance gaskets and sealants to ensure weather-tightness and emission control. Installation can be executed via "top-down" assembly directly on the tank or "ground assembly," where the dome is pre-assembled at ground level and hoisted into place by crane, significantly reducing on-site labor and safety risks.
The Installation Workflow: Phase-by-Phase
Phase 1: Foundation & Base Ring Preparation
The integrity of the dome begins at the base ring.
● Verification: The tank wall must be circular and level within specific tolerances. Any deviations must be shimmed or corrected before the ring is attached.
● Anchoring: The tension ring is anchored to the tank shell. This provides the structural "footing" that transfers the load of the dome into the tank.
Phase 2: Framework Assembly (The Geodesic Lattice)
This is the core of the installation.
● Modular Bolting: Using specialized torque-controlled tools, the geodesic struts (beams) are bolted to the hub connectors.
● Structural Integrity: Because the dome is self-supporting, it gains stability as the assembly progresses. No internal scaffolding is typically required if the assembly follows the correct geodesic sequence.
Phase 3: Panel Installation (Cladding)
Once the lattice is stable, the skin is applied.
● Overlapping: Aluminum panels are installed in a shingled or battened pattern. This ensures that water flows over the joints rather than into them.
● Fastening: Panels are secured with stainless steel fasteners and integrated rubber washers to prevent galvanic corrosion and ensure a weather-tight connection.
Phase 4: Sealing & Finishing
The "Emission-Control" phase.
● Gasketing: Applying chemical-resistant gaskets at all joints and the base ring.
● Venting & Accessories: Installing manways, inspection hatches, and gravity vents.
● Testing: Final inspection of all seals for water-tightness (vacuum testing) to ensure compliance with odor or VOC containment mandates.
Assembly Methods: Choosing Your Strategy
Method | Best Use Case | Operational Impact |
Top-Down Assembly | Existing tanks, limited site space | No crane required; high safety; manageable in tight footprints. |
Ground Assembly | New construction, open sites | Fastest installation time; maximum safety (all work at ground level). |
Safety & Compliance Standards
1. Fall Protection: Because dome installation involves working at height, rigid safety protocols (harnesses, safety nets, and perimeter railings) are mandatory throughout the framework assembly phase.
2. API 650 Compliance: The entire installation must verify that the load-bearing capacity of the tank wall is adequate for the dome structure as defined by API 650 guidelines.
3. Torque Calibration: All structural bolts must be tightened to specific torque values to prevent structural deformation under high wind or snow loads.
Frequently Asked Questions (FAQ)
Q: Can we install the dome while the tank is in operation?
A: Yes. This is a common requirement for retrofitting. Because the dome is self-supporting and does not require internal columns, it can often be installed on an active tank with minimal operational disruption, provided standard hazardous work permits are in place.
Q: How long does the installation take?
A: Installation speed is one of the primary benefits of aluminum domes. A medium-diameter dome (20-30 meters) can typically be fully assembled in 10 to 15 working days, depending on the site conditions and the method of assembly.
Q: Do I need to paint or coat the dome after installation?
A: No. Architectural-grade aluminum forms a natural oxide layer that protects it from corrosion. No painting or field-coating is required, which significantly reduces the cost of installation and ongoing maintenance.
Partnering for Reliable Infrastructure
Successful aluminum dome installation is a balance of structural precision, safety management, and logistical efficiency. Whether you are performing a new installation or a complex retrofit on an operational tank, our engineering team ensures that the process is compliant, safe, and built for a 30-year lifecycle.
Are you planning a dome installation for your storage assets?
[Contact our engineering team] to discuss your project’s logistics, site-specific safety requirements, and assembly method feasibility (Ground vs. Top-Down). We can provide a comprehensive project schedule and site-prep checklist to ensure a seamless installation.
Would you like a detailed technical brief on the difference between "battened" versus "panel-locking" seam designs for optimizing weather-tightness during installation?